Create or Import a Project
You can create a new project or import a project from the Projects page by following the relevant procedure.
Follow these steps:
Select My Projects from the Build menu and click the New Project button.
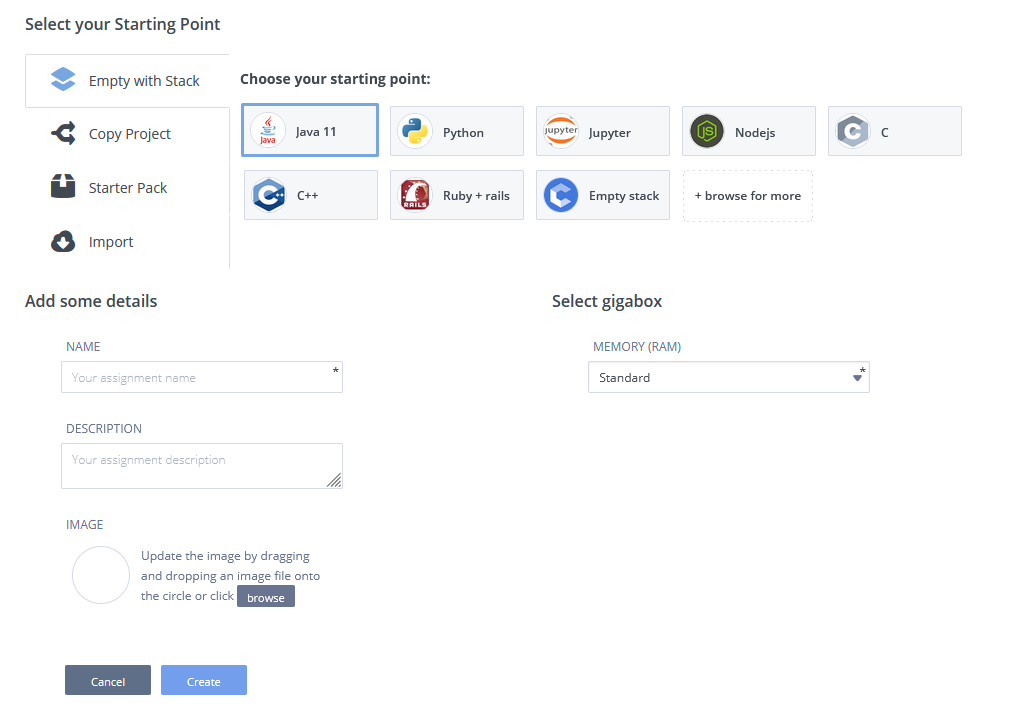
Select one of the available options:
Empty with Stack - Create a new project selecting the Stack to use either from those shown or ‘browse for more’
Copy Project - Create a new project by copying one of your other projects. If you choose this option, browse to the project to Copy From.
Starter Pack - Create a project using one of our pre-configured Starter Packs as a starting point. This option is a combination of a Stack, a populated code workspace and in many cases a guide containing instructional material.
Import - Create a project by importing it from Git or from a Zip file of a Codio project. If you choose this option, browse to select a Stack and choose the Source from the drop-down list.
Projects created from a template include an explanatory README.md file that provides useful information to help you get started. The template (with the exception of Empty Stack) also includes a pre-configured .codio menu setup with basic actions the selected project requires. If you want to re-configure the .codio menu file, see Customizable Run Menu for more information.
Because you have sudo level privileges, you can also customize any stack from the command line. See Stacks to learn how to create and manage your own software configuration templates.
Enter a Name and Description for your project. This is the information that is displayed in your projects list.
Select the visibility of the project (Private or Public). By default, all projects are created as private and are only accessible to you (in My Projects, a padlock icon is displayed next to all private projects.
Note
If enabled by your organization owner, you can create public projects but these are accessible by any Codio user. See Public and Private Settings for more information.
If your project is private, you can still share your project with others. See Share Project
Modify the Select gigabox value if your project will require more memory. See Gigaboxes for more information on Gigaboxes.