Fill in the Blanks
A Fill in the blank question can use either free text or offer options to be chosen from a drop-down list:
Answer Type |
Description |
|---|---|
Free Text Answers |
Shows a question where the student must complete the missing words (fill in the blank) by entering the answers. 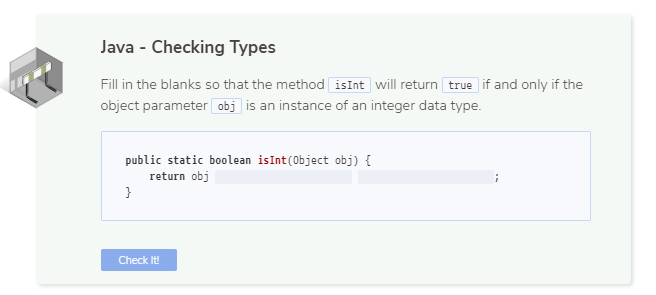
|
Drop-Down Answers |
The possible answers are available in a drop-down list where the student chooses the correct answer. 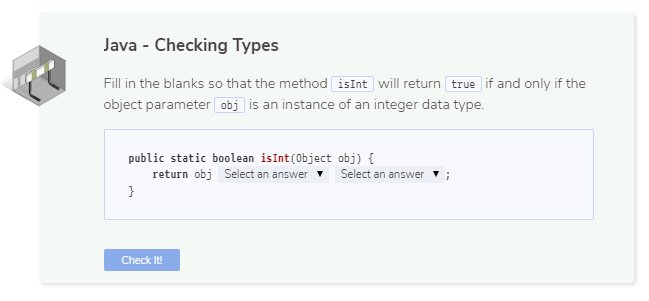
|
Assessment Auto-Generation
Assessments can be auto-generated using the text on the current guide page as context. For more information, see the AI assessment generation page.
Assessment Manual Creation
Follow these steps to set up fill in the blank assessments manually. For more information on General, Metadata (optional) and Files (optional) see Assessments.
Complete General.
Click Execution in the navigation pane and complete the following information:
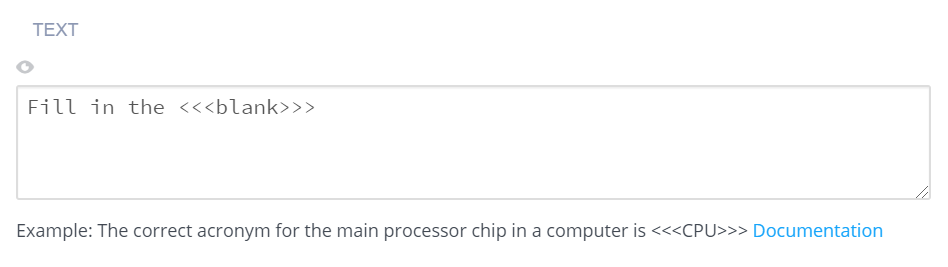
Text - Enter the question in markdown, including the correct answer specification. For example:
A prime number (or a prime) is a <<<natural>>> number greater than <<<1>>> that has no positive divisors other than <<<1>>> and <<<itself>>>.
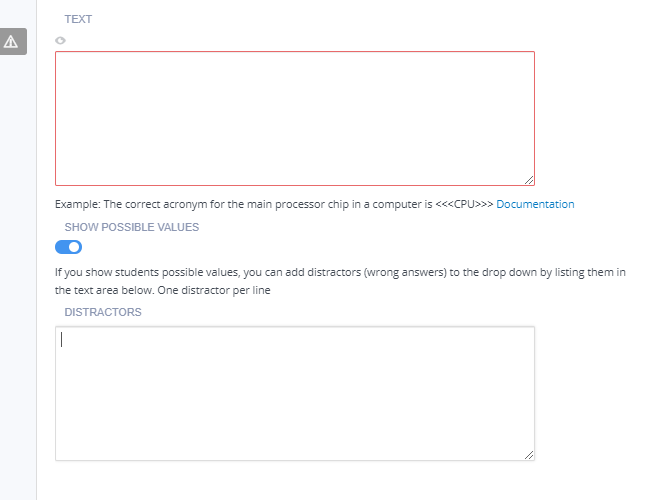
Show Possible Values - Toggle to display possible options for the correct answer:
For free text questions, blank fields are available for the student to enter the correct answer.
For drop-down questions, all the correct values (anything within the <<< >>> chevrons) are provided in each of the answer positions in a randomized order. You can also add incorrect answers (one per line).
Regular Expression Support
Codio regular expression matching follows the Java language standards.
Examples of regular expressions supported for blank fields:
Answer allows any characters -
<<</./>>>Answer starts with word “begin” -
<<</^begin/>>>Answer ends with word “end” -
<<</end$/>>>Answer can contain one or more spaces in “this is” -
<<</this\s+is/>>>Answer contains 1 or 2 or 3 -
<<</[1 2 3]/>>>Answer allows color or colour -
<<</colou?r/>>>Answer allows yes or “yes” -
<<<"yes", ""yes"">>>Answer allows hat or cat -
<<</[hc]at/>>>Answer allows i==0 or i == 0 -
<<</i ?== ?0/>>>Answer must only contain digits -
<<</^[\d]+$/>>>Answer must only contain non-digits -
<<</^[\D]+$/>>>Answer requires word character -
<<</^[\w]+$/>>>Answer requires non-word character -
<<</^[\W]+$/>>>Answer allows several answers (Place1 or Place2) -
<<<"Place1", "Place2">>>Answer requires case sensitivity -
<<</[A-Z]/>>>or<<</[a-z]/>>>
Click Grading in the navigation pane and complete the following fields:
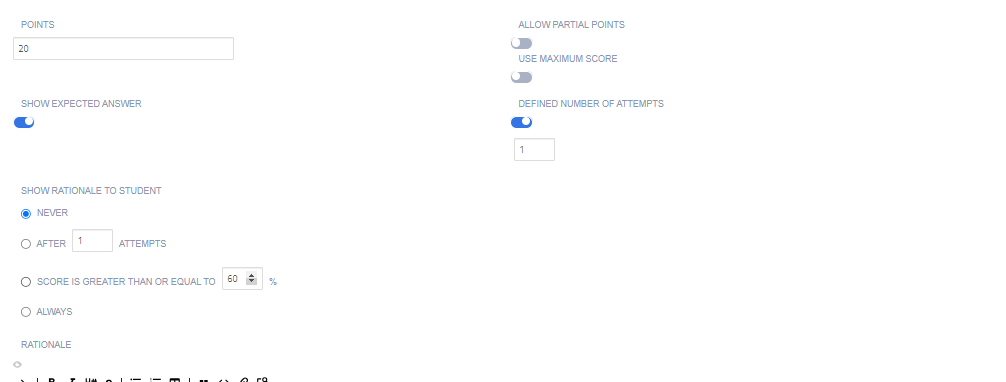
Points - Enter the score for correctly answering the question. You can choose any positive numeric value. If this is an ungraded assessment, enter zero (0).
Show Expected Answer - Toggle to show students the expected output when they have submitted an answer for the question. To suppress expected output, disable the setting.
Define Number of Attempts - enable to set the number of attempts students can make for this assessment. If disabled, the student can make unlimited attempts.
Show Rationale to Students - Toggle this option to display answer explanations to students. The rationale will appear after they submit their answer and whenever they view the assignment after marking it as complete. Control when students see the rationale by selecting: Never, After x attempts, If score is greater than or equal to a % of the total, or Always.
Rationale - Enter guidance for the assessment. This is always visible to the teacher when the project is opened in the course or when opening the student’s project.
Use maximum score - Toggle to enable assessment final score to be the highest score attained of all runs.
Click Create to complete the process.