Grade Weights
The Grade Weights settings are used to enable and disable the grading model to be used: Teachers Grading, Assessments Grading, or Script Grading, and to manage the grading weight.
The total grade is based on the grade weight assigned to each option:
If only one option is enabled, 100 percent of the points of that option go to the final grade.
If the enabled options have the same weight, the final grade is calculated as an even split in weight between the enabled options.
In the case of all three grading options enabled, each with the same weight, each option has a weight of 1/3.
In the case of two grading options enabled, each with the same weight, each option has a weight of 1/2.
If the enabled options have the different weights, the final grade is calculated as a fraction of the enabled options. For example, if Teachers Grading has a grading weight of 2 and Assessments Grading has a grading weight of 1, the final grade is calculated as Teachers Grading points * 2/3 + Assessments Grading points * 1/3.
To specify Grade Weights, follow these steps:
Navigate to your course, and go to the Overview area.
Select the settings gear to the right of the assignment name.
Under assignment settings, scroll all the way down.
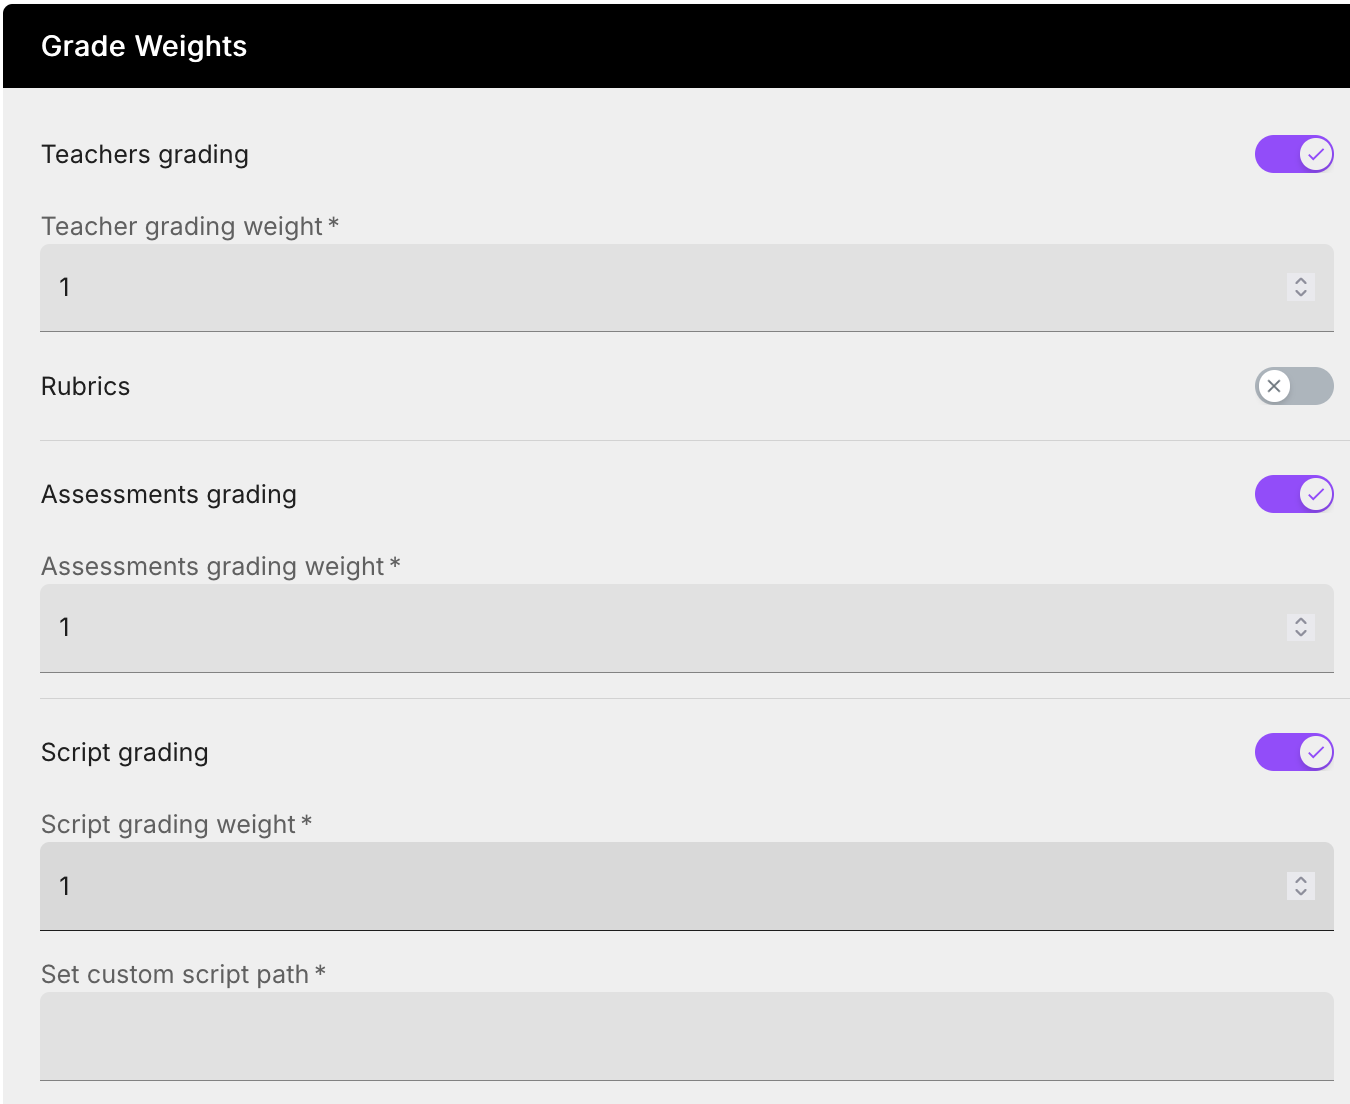
In the Grade Weights area, click the grading options you want to enable and assign the grading weights to each option:
Teachers Grading - This option allows you to specify a Grading Rubric Template to use with an assignment and specify the grading weight.
Click Teachers Grading and enter a value in the Grading Weight field.
Click Rubics to assign a grading rubic template to the assignment and then choose the rubic template from the drop-down list.
Assessments Grading - If your assignment includes auto-graded assessments, this option is enabled by default. If you do not want the results of the assessments to be included in the grading, disable this option.
Click Assessments Grading and enter a value in the Grading Weight field.
Script Grading - This option allows you to specify an auto-grade script that runs when the assignment is marked as complete.
Click Script Grading and enter a value in the Grading Weight field. Assign it a weight out of 10 or 100 that has the desired proportion to the “Assessments Grading” weight.
Click Set Custom Script Path and choose the path from the drop-down list. The “Set Custom Script Path” drop down menu will contain the autograde scripts you set up using the Education Menu in your assignment. Select the script you want to use for the assignment. Note: The “Set Custom Script Path” drop down only lets you run one script. You will need a helper script if you want to combine multiple tests.
For more information about assignment level scripts, see Using Assignment Level Scripts.
Make sure to Save Changes.
To force your Assignment level script to run, select Actions and Run autograde script.
View this video to learn more.